Intro
Smart plugs are the easiest way to start home automation — no wiring, no soldering. In this guide you’ll learn how to pick a plug, set it up, and use it with Home Assistant or Alexa.
What you need (Materials)
A smart plug
Home Wi-Fi network (2.4 GHz in most cases)
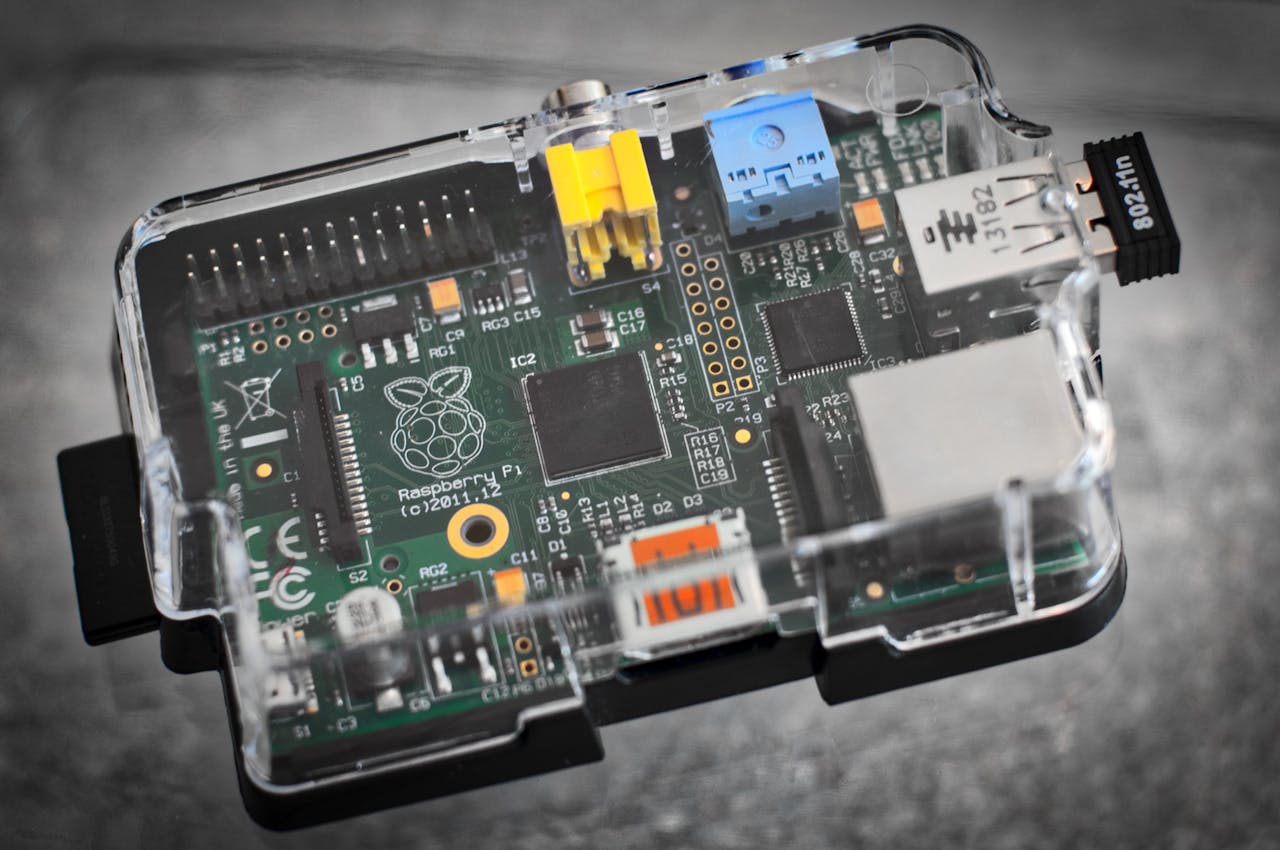
Optional: Home Assistant on Raspberry Pi
Step 1 — Pick the right plug
Tip: choose a known brand that supports local control if you want Home Assistant integration.
Step 2 — Install the plug
Plug into wall outlet.
Install manufacturer app (follow quick start).
Put the plug into pairing mode (usually hold button).
Connect via app to your 2.4 GHz Wi-Fi.
Step 3 — Integrate with Home Assistant
If the device supports local control, add integration: Configuration → Integrations → Add. Use the manufacturer integration or generic Tuya/Tasmota if flashed.
Simple automations to try
- Turn a lamp on at sunset.
- Cycle a fan every 30 minutes.
- Use presence detection to turn off plugs when leaving home.
Troubleshooting
Reset the plug (hold button 10s) and retry.
If it won’t pair, confirm you’re using 2.4 GHz not 5 GHz.
Conclusion
Smart plugs are the fastest win for beginners. Start with one or two and link them to a schedule or Home Assistant automation.
Products I recommend
- [Budget smart plug —
/go/smart-plug-budget] - [Local-control smart plug —
/go/smart-plug-local]
(Affiliate disclosure: This post contains affiliate links.)

